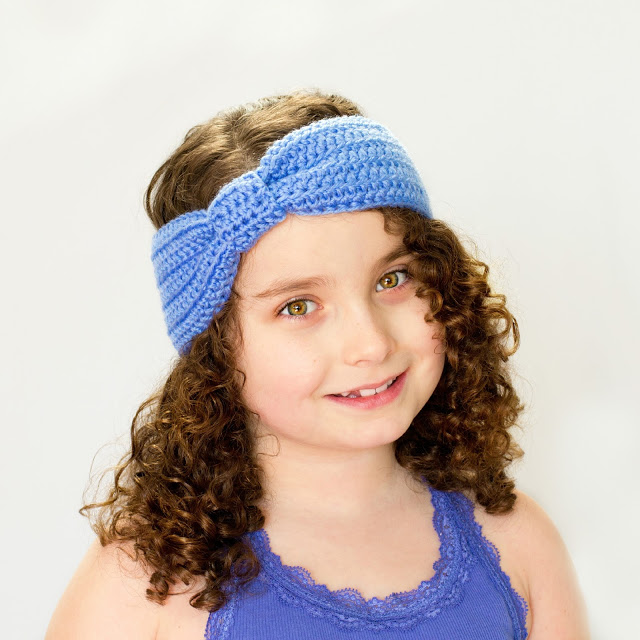
Turban Knot Headband Crochet Pattern
What You’ll Need
5.00mm Crochet Hook
50g of 8ply {DK} Yarn
Tapestry/Wool Needle
Start of by taking your 5.00mm crochet hook and making a Slip Knot, then crochet 75 Chains. You can easily adjust this headband for a child by only chaining 65 chains.
Row 1~ Chain 3, skip 3 chains from your hook, then crochet Double Crochets all across into every chain.
Row 2~ Chain 2, then crochet Half Double Crochets into every stitch across but only through the front loop. {This will create the appearance that the headband is ribbed}
Row 3~ Chain 2, the crochet Half Double Crochets into every stitch across but through both loops.
Row 4~ Chain 2, then crochet Half Double Crochets into every stitch across but only through the front loop.
Row 5~ Chain 2, the crochet Half Double Crochets into every stitch across but through both loops.
Row 7~ Chain 2, the crochet Half Double Crochets into every stitch across but through both loops.
Row 8~ Chain 2, then crochet Half Double Crochets into every stitch across but only through the front loop.
Row 9~ Chain 2, the crochet Half Double Crochets into every stitch across but through both loops.
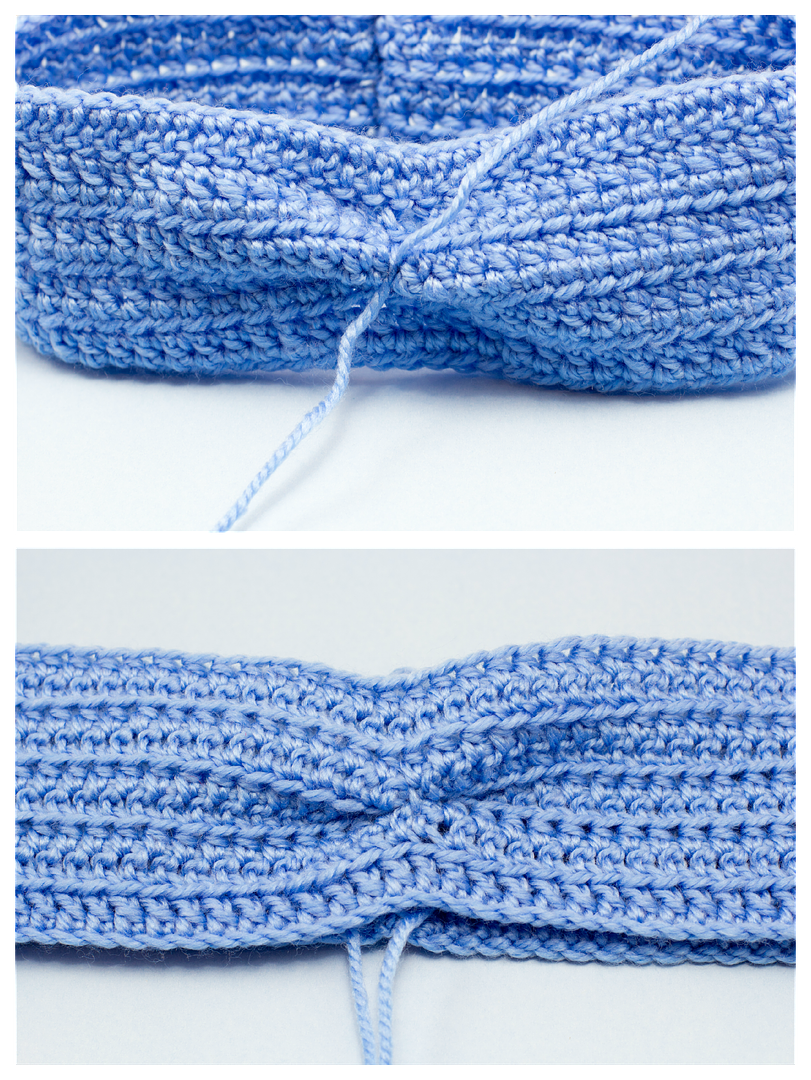
When you’ve completed all the rows, connect the two ends of the band together to create a circle and Slip Stitch them together, making sure that the ribbed side is on the inside. Once the band is slip stitched together fold the slip stitched part towards the inside and the ribbed side towards the outside.
Fasten off, and weave in loose ends.
Start of by taking your 5.00mm crochet hook and making a Slip Knot, then crochet 6 Chains.
Row 2,3,4,5,6,7,8~ Chain 2, then crochet Half Double Crochets into every stitch across.
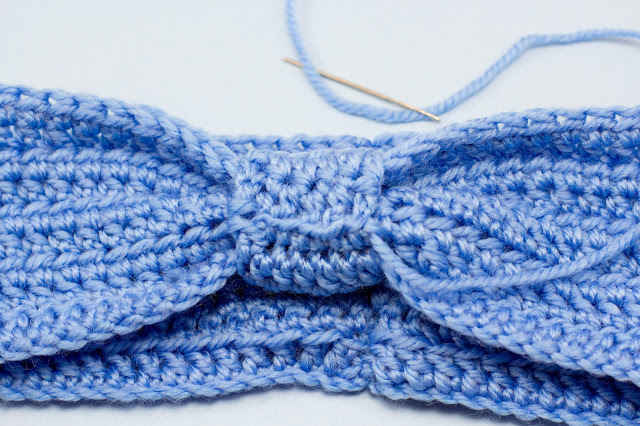
Once the strip is finished you will need to wrap it around the ruched area you created previously.
Now taking your tapestry/wool needle sew the two ends of your strip together at the back. Once the knot is sewed onto your headband fasten off, and weave in any loose ends underneath the knot.
enjoyed this tutorial,
if you have any questions, comment away!
did crochet this headband, please post a photo of your creation


Aww, she is a darling. And the headband is cute too!
thanks for the pattern and she is adorable.
Hi Olivia,
I'd like to feature this pattern in Curtzy.com's Crochet and Knitting pattern newsletter. This would entail a short description of the piece and a link back to the pattern here on your blog, with all the credit being given to you. I hope this is something you'd be comfortable with.
Thanks!
Jordan
Awesome pattern, I am so excited to make this!
Can you use 4ply yarn?
If you use 2 strands at the same time.
Otherwise you'll need to add more base chains, and rows to compensate for using thinner yarn.
Does this pattern only fit children or is it also adult size?
This headband can easily be adjusted to fit a child by only chaining 65 base chains, instead of 75.
I hope your beautiful model never loses her sparkle. Helen
May I use this pattern to sell finished items with?
Yes you may. 🙂
Hi 🙂 what if I need to make this for a 6 month old baby? How many chains would I need?
The average 6 month old baby's head is 14" to 15". So just crochet chains till you reach that length.
Hope this helps!
Thank you so much for this pattern, so far I have made many for my grown daughters and myself, in many colors, we all just love them very stylish thank you againO
Hello! I came across this pattern and I really like it. I just have a question: how do you connect/sew the ends of the headband together? I know that in your pattern, you said to slip stitch and make sure that the ribbed side is inside, but could you still clarify or give other tips. So sorry, I'm still lil new at crocheting, but I'm loving how the headband is turning out so far, just need to connect the ends.
Hello,
I just slip stitched the ends together, I don't really have any tips, other than the be sure to slip stitch them together evenly.
You could also just sew them together if you'd like. There is no right or wrong way 🙂
Olivia
Ok thank you very much. Can't wait to finish my headband.
Hello! Cute headband! Quick question: does the chain 3 in row 1 count as a DC and the chain 2 in rows 2-9 count as a HD? Like after finishing the first row of DC, would we HD until we reach the very last DC (the chain 3) and HD in the last HD (the chain 2) of the other rows?
Are there suppose to be 75 stitches for each row of the headband and 6 stitches for each row of the knot?
So cute, I can't wait to try it. Thank you so much for sharing this pattern!
Finally found a simple head band. Want to make one I can cross st on, so I will do this in Sc. Thanks for sharing. Your sister will grow up to be a model. She is a sweet heart. Thank again.
hi, im making this for a 8 month baby which her head is around 16" im using 4 ply and 4mm hook i came out to 80 chains at the beginning is that ok? is it because im using a smaller hook than yours so i need more chains? kindly advice.
thanks
hod
This is so cute. I can't wait to make one, or two! Thank you for sharing!
its really nice i like it
its great really i like it